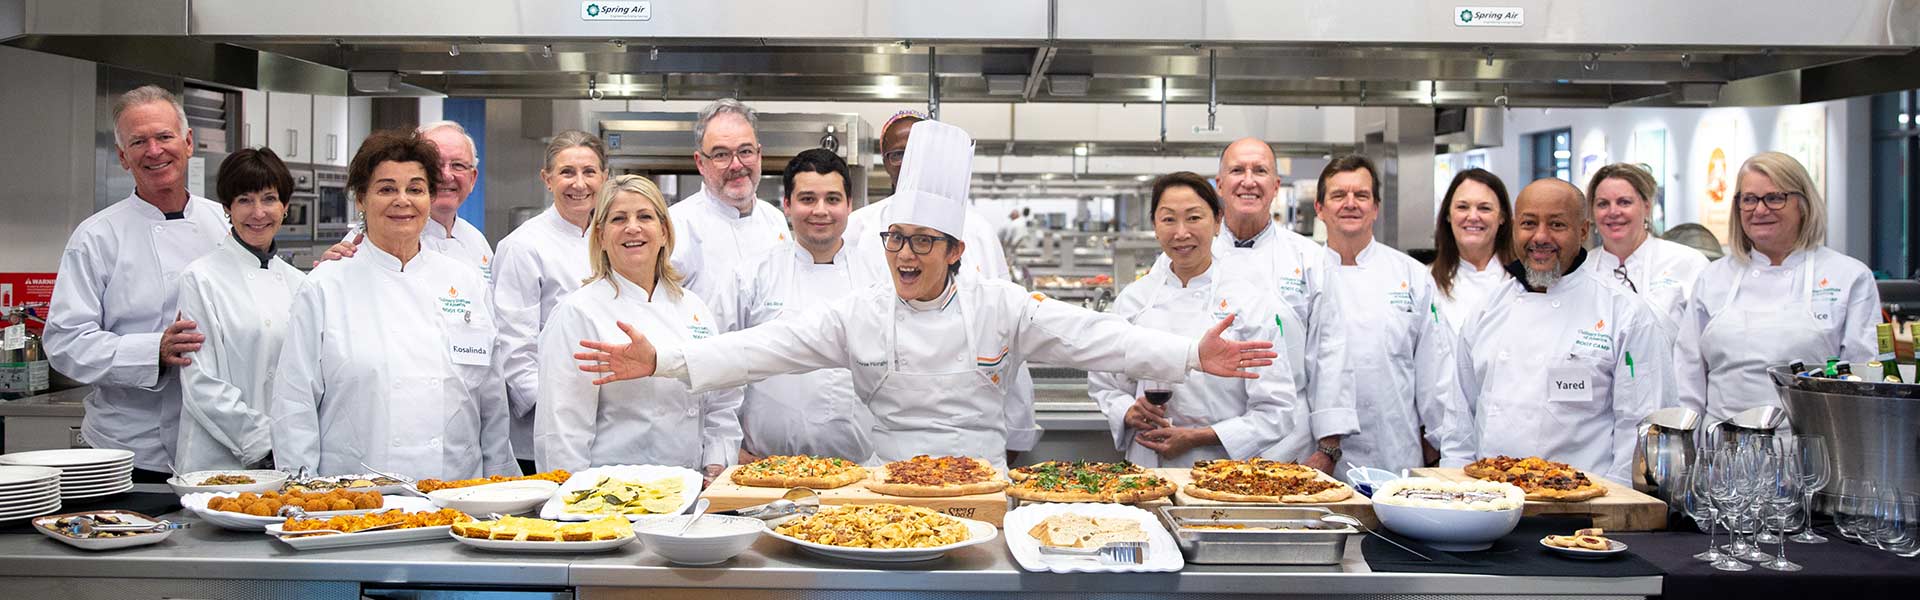

CIA Foodies
Experience the World of Food with the Culinary Institute of America
If you love food, you’re in the right place! Welcome to CIA for Enthusiasts, a place where you can cook, eat, celebrate, and learn at our campuses. From hands-on public cooking classes to exceptional dining experiences, CIA invites you to discover your inner chef with us.
Four Culinary Destinations


Subscribe to Our Newsletter
Sign up to be the first to know about upcoming classes, special events, dining experiences, and more at CIA.

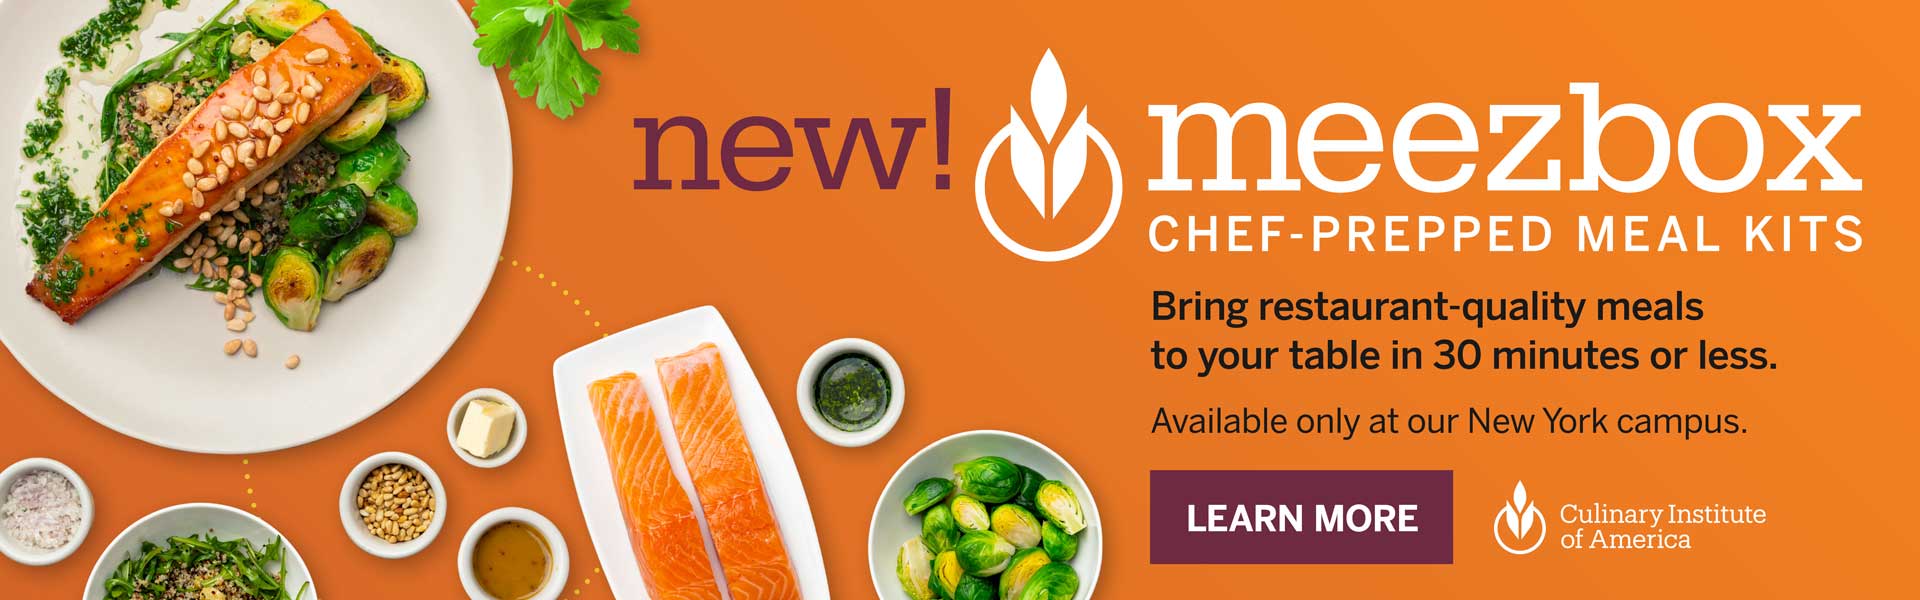
Take a Class
Hands-on, multi-day signature CIA Boot Camps, single-day classes, and beverage classes with CIA chef-instructors in state-of-the-art kitchens. Take a class that dives into distinct cuisines or helps you develop proper techniques in the kitchen.
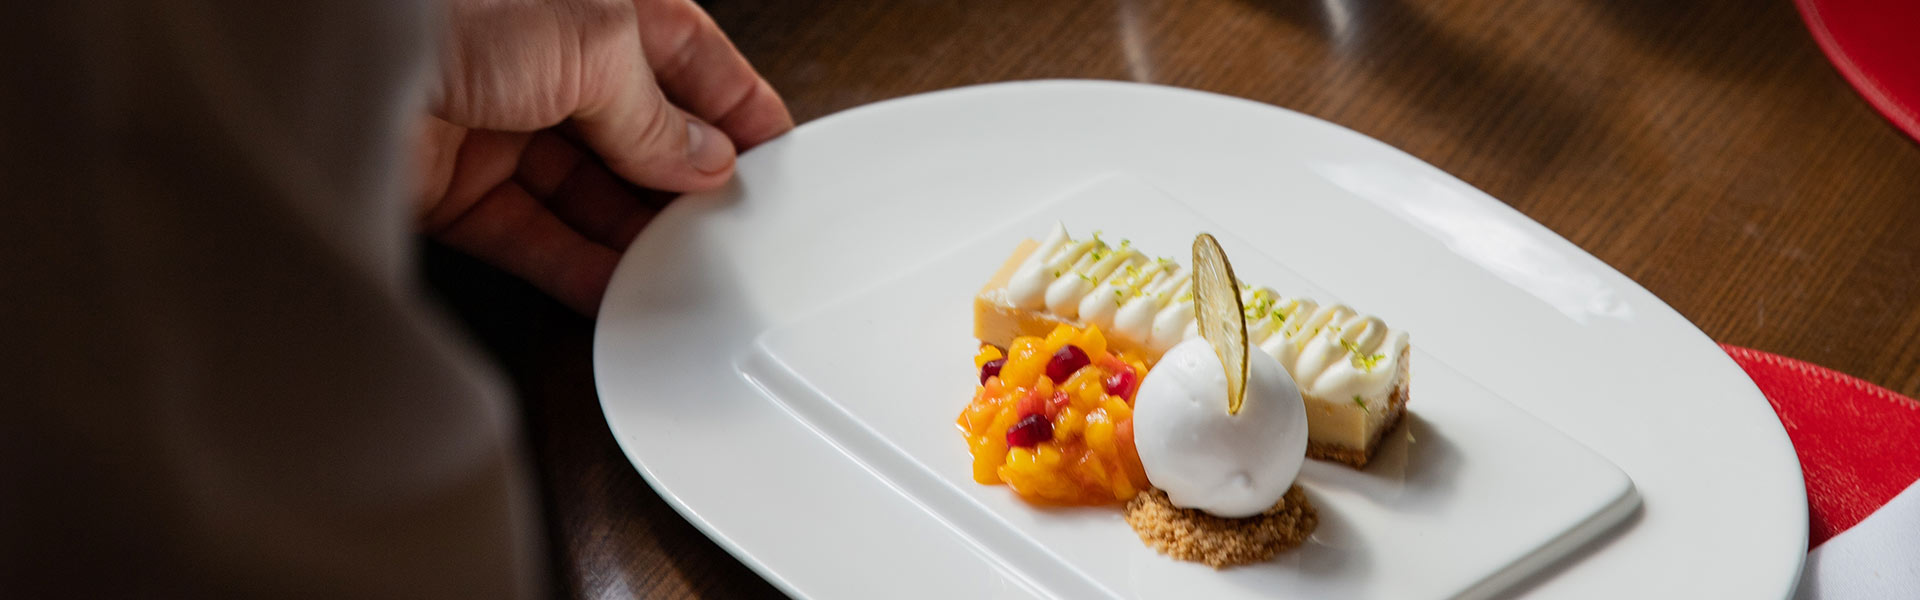
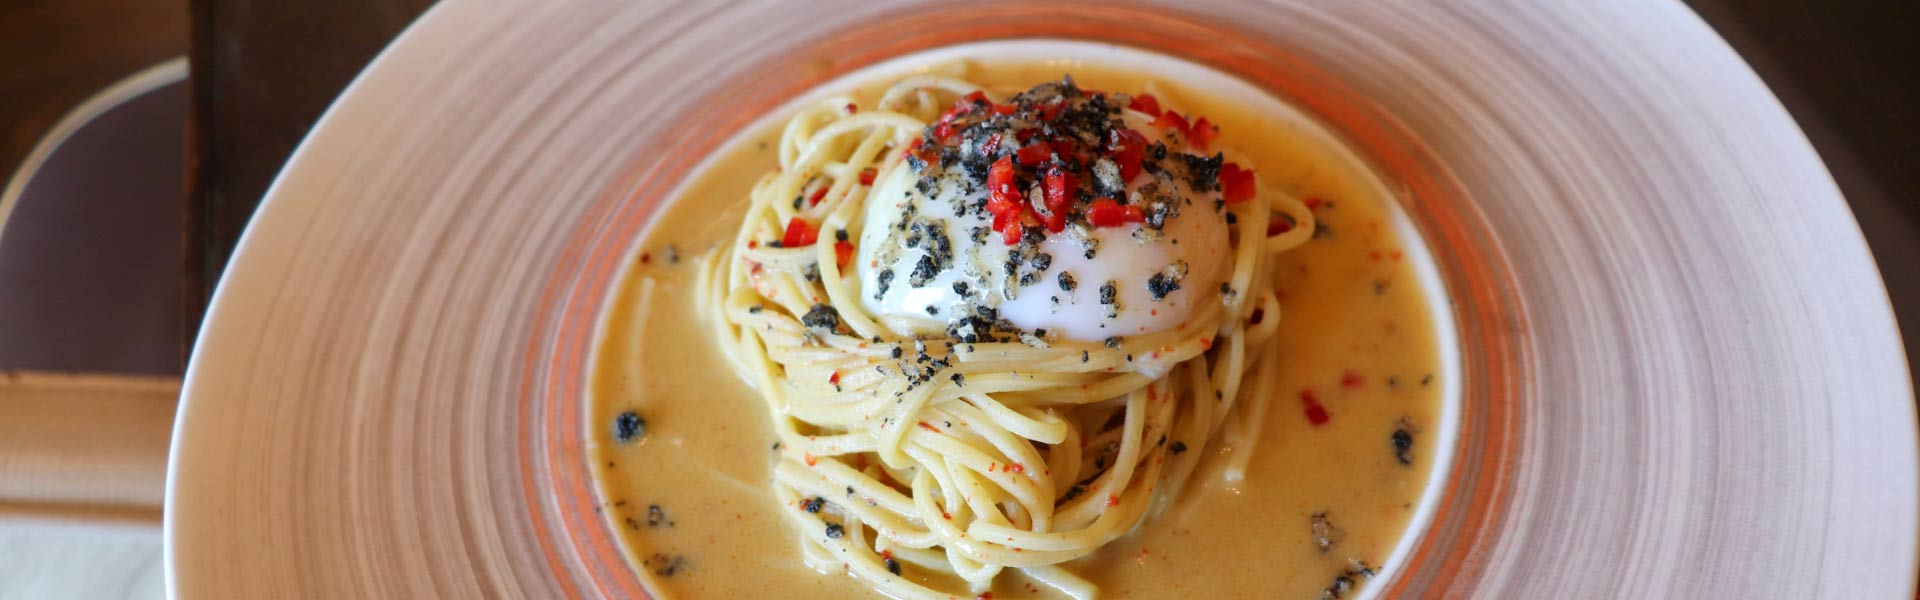
Dine With Us
Elegant fine dining and elevated casual experiences brought to you by the students and faculty at CIA with locations in the Hudson Valley, Napa Valley, and San Antonio.


Celebrate Something Special
Unique, food-centric weddings, special occasions, celebrations, corporate events, meetings and more offered at multiple locations with a variety of different spaces.

What’s Cooking at CIA?

Unlock the Ultimate Experience for Home Chefs with DISH
Save 20% and get access to all our recipes, videos, guides, Q&As, menu plans, exclusive deals, and more. Start your seven-day free trial today and we’ll also send you a free apron!

Guest Chef Dinner Series at The Grove
Join Chef Tanya Holland on Sunday, May 5 for a new-style, down-home Brown Sugar Kitchen Brunch, and Chef William Dissen ’03 on Thursday, May 23 for a chef’s dinner featuring recipes from the new south. We can’t wait to have these chefs take over the kitchen at The Grove Restaurant at CIA at Copia in Napa!

Hudson Valley Graduation Dinner
Know someone special who is graduating college May 2024? Your graduate deserves a unique foodie celebration! Join us for our Hudson Valley Graduation Dinner at CIA New York for graduates from area colleges on Saturday, May 18. Your ticket includes a three-course dinner, open wine and beer bar, and passed hors d’oeuvre in the stunning Farquharson Hall.